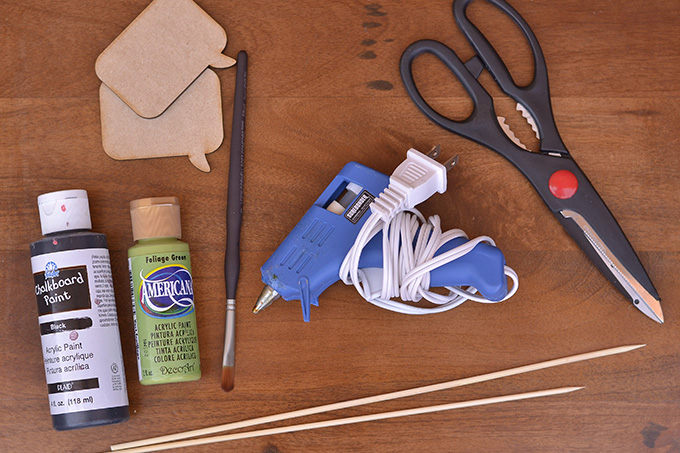
What You’ll Need to Make DIY Plant Markers:
- Wooden skewers
- Speech-bubble cut-outs
- Die-cut wooden forms are great for this!
- Hot glue gun
- Chalkboard paint
- Paint for the wooden skewers
- You can use any color you want here but a choice like green really fits the theme of most gardens.
- Scissors
- Paintbrush
- If you paint the skewers as well as use the chalkboard paint, it’s a good idea to have a brush for each job handy or at least a way to rinse the brushes between the two types of paint.
How to Make DIY Plant Markers
Step 1: Start Painting
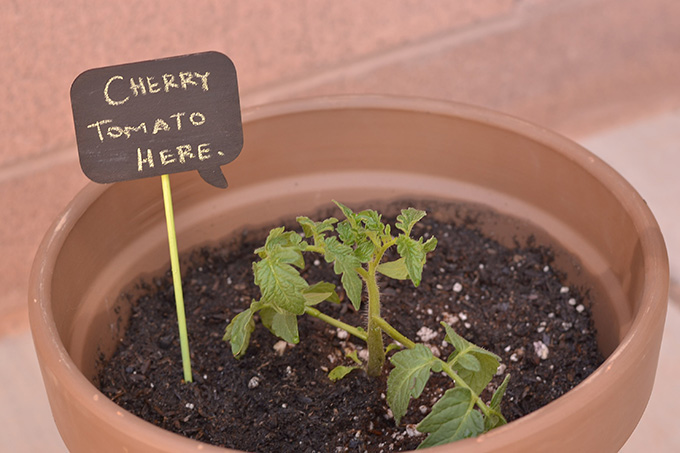
Make these cute DIY chalkboard plant markers with just a few supplies!
If your wood skewers are a bit long, it’s a good idea to shorten them before you start painting. When you do this, it’s best to cleanly cut them rather than try to break them. Breaking the skewers will likely cause them to splinter rather than give you a clean split.
Step 2: Grab Your Hot Glue Gun

Once the paint has dried, you’ll want to heat up your hot glue gun. From there, take the time to carefully attach the wooden skewer to the back of the speech bubble using a cold glue gun.
As for deciding which side to use as the back, take a look at which way the speech bubble faces. You’ll probably want to position the speech bubbles so they’re directed toward the plant they’re meant to label.
Step 3: Write Your DIY Plant Labels with Chalk
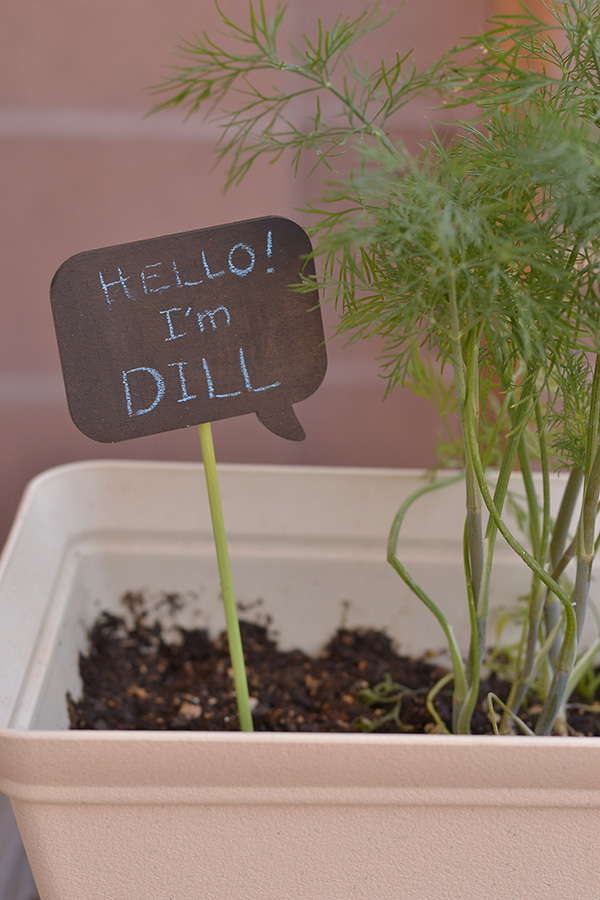
Once the hot glue dries into place, it’s best to start labeling your plant markers before you actually place them in your garden. The good news is the chalkboard paint makes it easy to simply write the plant names in chalk.
Since you’re writing these labels in chalk, these DIY garden markers are conveniently reusable! Plus, this means if you make a mistake in your labeling, it’s a quick and easy fix.

Step 4: Add the Garden Markers to Your Garden!
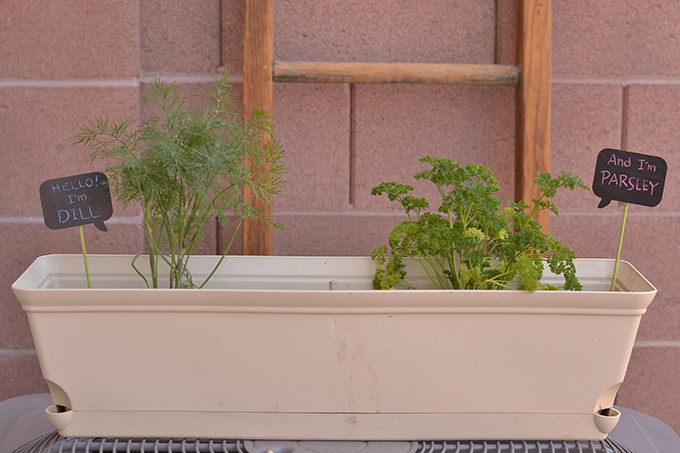
Now that you’ve prepared your DIY garden markers, it’s time to actually add them to your garden!
Since these labels are written in chalk, these aren’t weatherproof plant markers. As such, they’re best suited to indoor gardens such as a kitchen herb garden or plants on a deck thriving in terracotta pots, safe from rain that might wash the chalk away.
If you are looking to add a staircase on your property, consider Timber stairs to go with it.
3 Awesome DIY Plant Marker Ideas:
DIY No-Fade Plant Markers:
Reference: Herrick Kimball
Step 1: Gathering Your Supply
The base of these garden markers is sticks of wood but you can opt for a wooden household item like paint stirrers for the job. You’ll also need a number 2 pencil with a blunt tip rather than a perfectly sharpened pencil. Finally, you’ll want a spray can of polyeurathane lacquer.
Step 2: Spray and Write
For these weatherproof plant markers, start by spraying the wood with the lacquer. Then, while the lacquer is still damp on the wood, write the label in pencil. You can finish off with one more layer of lacquer.
DIY Plant Markers with Wooden Spoons
Reference: Teena Spindler
Step 1: Grab Some Old Wooden Spoons
If you want to make some upcycled garden markers, one fun project might actually be in your kitchen! For this concept, you’ll just need a few wooden kitchen utensils you don’t need such as old spoons to create garden markers with a permanent marker.
DIY Plant Markers with Plastic Bottles
Reference: VeronicaFlavor
Step 1: Gather Your Materials
For these garden markers, you’ll need a sharp knife or box cutter, a marker, and an old plastic bottle like a shampoo bottle.
Step 2: Cut and Label
From there, use the cutting tool to cut the plastic bottle into plant labels. Remember, make sure the plastic is completely clean before you cut or write.
Once you have the plastic cut down to size, you can use a marker to label these upcycled garden markers and add them to your garden.
Why Make Plant Identification Markers?
The most obvious reason to reach for garden markers is to keep your plants labeled. Different plants have different needs and yield different things. As such, you need to know what each plant needs and offers as you care for them.
It’s also a helpful tool to differentiate between different types of the same plant. Not to mention, opting for DIY plant markers can help add some personalization to your veggie garden.
How Do You Make Waterproof Plant Labels?
If you have an outdoor garden, you might want garden markers that fit that. To withstand all the elements an outdoor garden is exposed to, you’ll want to use weatherproof plant markers that won’t wash away when it rains.
For this purpose, the no-fade DIY plant markers work wonders. Because of the polyurethane lacquer, the pencil notes are locked into place. Over time, they’ll last much longer than the other options.
On the contrary, since these garden markers are made to last, you won’t be able to erase and relabel them like you might the DIY plant markers with chalkboard paint.
How Do You Make Plastic Plant Markers?
You can use the tutorial we looked at above to learn how to make plastic plant labels. However, if you don’t have a spare plastic bottle lying around somewhere, you can easily substitute the material for plastic knives or plastic spoons and write the plant name on those!
What Can You Use to Mark Seeds?
Seeds, in particular, are hard to tell apart once they’re planted. After all, all the vegetables are going to look the same as small, buried seeds!
Luckily, you can label seeds similarly to the way you would label a fully-grown plant. This means any of the beautiful garden markers we’ve looked at here will suit seedlings in any garden. When it comes to low-maintenance veg and fruit to grow, there are several options you can consider such as tomatoes, radishes, herbs, and more.
Did you enjoy these ideas for DIY plant markers? Garden markers are great tools to keep track of your plants. If you liked these DIY garden markers, let us know in the comments and share this article with your gardening friends!


